Although the calendar may not say that summer is over, my teaching schedule (and your kids' school schedule) dictates that summer has come, run its course and is going.
So jam out with me in my final days of summer and learn how to make no pectin needed freezer jam!
You can use nearly any kind of berry to make this freezer jam. And I'm loving the
Balls Freezer Jars that come in 8 oz and 16 oz sizes.
These are awesome plastic jars that can be used in the refrigerator as well as the freezer. They are also dishwasher safe, which is a great asset for a jam jar! I've found these least expensive at Walmart and I'm sure with summer starting to wind down, you may even find them on clearance.
Needed Items:
1 juicy lemon or 1/4 C lemon juice
1 lb fresh berries, washed (strawberries, blueberries, raspberries, etc.)
2 C sugar
1 16 oz freezer jar OR 2 8 oz freezer jars
sauce pot (3-4 qt size)
wooden or plastic spoon (stay away from metal!)
small glass or ceramic plate
Directions
1. Put your small plate in the freezer. Weird, I know, but it'll come in handy later. Trust me.
2. In your pot (yes, I know your pot is huge compared to the amount of jam you're making; it's because your jam will froth and foam and if your pot is smaller, you may end up with a boiled over mess), place 2 C of sugar, the zest of the lemon (if you're using a fresh lemon) and all of the lemon juice.
3. While your sugar-lemon mixture waits in the pot, chop the berries. If you want really chunky jam, leave your berry pieces bigger. If you want really fine, smooth jam, chop your berries really fine. You can even use a food processor to crush up your berries, but be careful you don't end up with berry juice!
4. Add your berries to the sugar-lemon mixture in your pot. Turn the heat to medium high. Let the mixture come to a rolling boil. Here is where you're going to see bubbling, frothing and foaming. Stir to keep your mixture from burning to the sides and bottom of your pot.
5. Let is continue to cook at a rolling boil for 10 minutes. Keep stirring. Don't do anything else. Don't run off the play with the kids, don't sit down to watch your soaps, don't even go to the bathroom if you can help it. Do you know how hard it is to get burned berries off of a pot and the stove top?! Keep stirring and the bubbling will eventually die down and your mixture will thicken.
6. At the end of 10 minutes, take your plate out of the freezer. I told you it was for a reason! Pour a tsp of jam on the plate. Run your finger through the middle of the jam. If the line you made stays clean, your jam has gelled enough. If it doesn't and the jam closes back in on the line, you need to cook your jam a bit longer.
7. I let my jam cool a whole bunch in the pot before transferring into my freezer jars. I also always make sure my freezer jars are washed and dried thoroughly before using. I never double dip into my freezer jars, either, because homemade jam will mold up more quickly than the store bought crap since there aren't any preservatives in it!
Happy Couponing!
-Coupon Mama Massachusetts


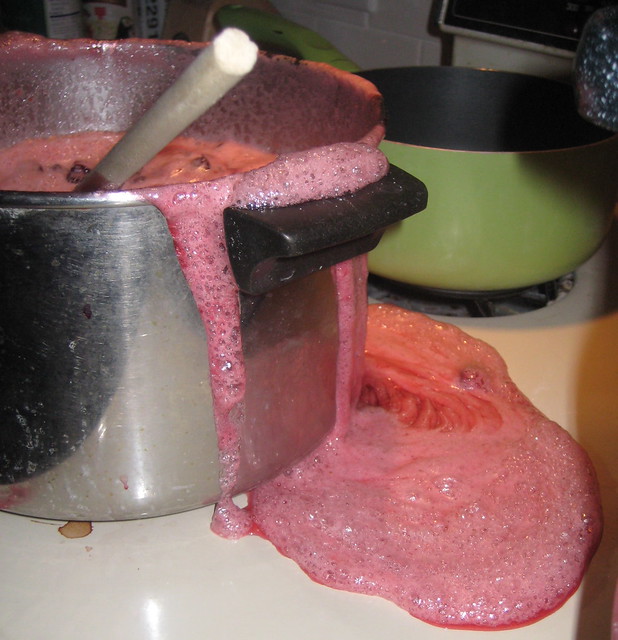 This is what you DON'T want to happen!
 Photo Credit